
Road bike bottom bracket standards explained

Road bike bottom bracket standards explained
For a seemingly simple component the bottom bracket can prove to be rather tricky.
Its job is to attach the crankset to the frame, allowing you to pedal. When all is well, and the bearings are running smoothly, it is easy to forget. However, like any bicycle part that uses bearings, it will eventually need replacing. And that’s when the fun starts.
The idea of a standard road bike bottom bracket has long since passed. Once there were only steel frames with threaded bottom bracket shells. The majority used the BSA standard bottom bracket with a 68mm wide shell and a 34.8mm diameter. There were a few frames that adopted the Italian threaded standard, which were a little wider and had regular threads on both the left and the right side, but that’s as complicated as it got.
However both the advent of carbon frames and the push for greater pedaling efficiency led to the creation of the press-fit bottom bracket design. Carbon doesn’t respond well to having threads cut into and threaded metal inserts added weight so frames began to be designed with smooth bottom bracket shells, with the bearings then pressed into this shell.
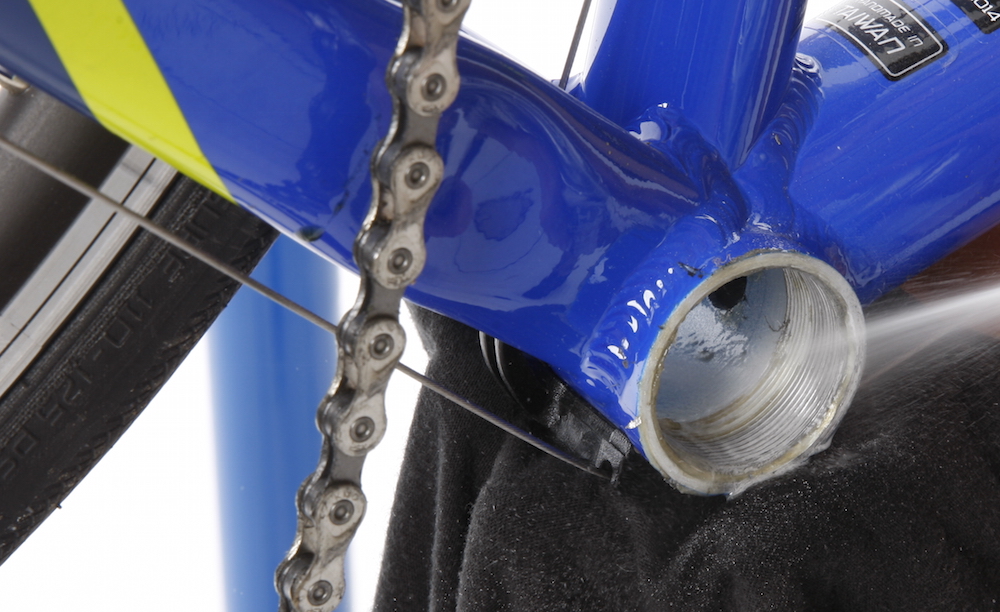
Brands then experimented with different shell and axle widths and diameters in search of improved stiffness, better power transfer and a reduction in weight. The result was an explosion of new designs. Unfortunately, press-fit bottom brackets can present their own issues: firstly, the difficulty of fitting and removing the bearings at home, and secondly, if the frame isn't built within a very small window of tolerance, creaks can emerge - though these tend to take time to rear their head.
The result? The years 2020 and 2021 saw a resurgence of threads - the T47 adopted by Trek and the 68mm wide BSA by Specialized in its launches of the Tarmac SL7 and Aethos. The decision adds a few grams, via the threaded insert, but is music to the ears of home mechanics and those who have encountered creaky press-fit systems.
'Standards' is still most certainly plural when it comes to bottom brackets, and something of an oxymoron; there’s little 'standard' about the modern day bottom bracket.
For the home mechanic it can be a minefield. Compatibility issues abound. To attempt to provide some clarity in these decidedly murky waters, we’ve run through the main bottom bracket types to help you when it comes time to replace it. Later in this guide we’ve touched on a few troubleshooting questions including installation. But first the ‘standards’...
THREADED BOTTOM BRACKETS
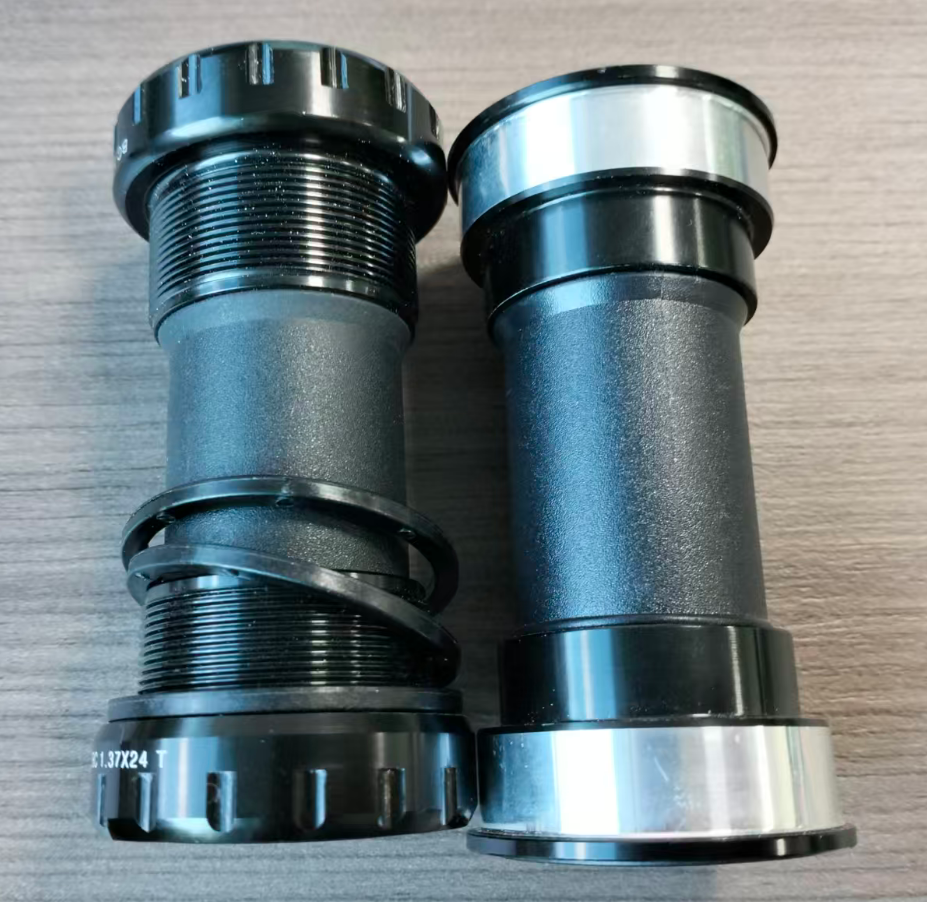
If you’ve got a steel, aluminium or titanium frame then it’s more than likely to have a threaded bottom bracket shell. The BSA standard still rules here, with a 68mm width shell used for road bikes. Carbon frames can also adopt this standard by using bonded metal inserts that are then threaded. This is becoming increasingly popular in recent times with Specialized using threaded bottom brackets on both the carbon framed Aethos and Roubaix models for example.
There is a variation in the types of threaded bottom brackets however. Some older bikes will still use an internal bearing design. Here a sealed unit that comprises bearings and square-tapered axles is threaded into the shell, with the crank arms then attached to the axles. Or if it's older still, the cranks may be connected to the axle with a bolted-on transverse cotter pin.
Modern road bikes however use external threaded bearings and it’s what we’ll focus on here.
PRESS FIT BOTTOM BRACKETS
BB30, PF30 and BB30a Pressfit
With the rise of carbon fibre as a frame material, threaded bottom brackets presented a problem. Since you can’t easily cut a thread into carbon, manufacturers needed to insert a threaded metal piece into the bottom bracket shell to screw in the bearings, which added weight.
The axle diameter is increased from 24mm to 30mm too, which means that it can be made lighter without losing rigidity, although the shell width is still 68mm. Having the bearings inboard in the shell means that there’s extra room for wider frame tubes, allowing bike designers to add frame rigidity for more efficient pedalling.
Pressfit bearings are widely used for modern carbon frames. But the BB30 standard requires close tolerances in the frame to ensure that the bearings fit without play. Early BB30 frames were notorious for creaky bearings, although Loctite and more accurate frame building have reduced the problem significantly.
INSTALLING A BOTTOM BRACKET
Threaded bottom bracket installation
The threaded bottom bracket has always appealed to the home mechanic. It's designed with serviceability in mind and with the right tools it's a pretty straightforward job.
Due to the threaded interface it's a simple as screwing on a lid. You'll need to grease the threads and you'll also ideally have a bottom bracket tool that's compatible with your chosen BB. This will allow you to tighten it to the recommended torque at the end. However up until this point you should be able to fit the bottom bracket by hand.
Before you begin it's worth checking if the face of your bike's bottom bracket shell is smooth. This will allow the bottom bracket to sit flush to the frame. Any excess paint or chips will prevent this. While this should have been taken care of at the factory it's not always the case; your local bike shop will be able to face your BB if needed.
Remember that BSA standard bottom brackets have a left and right side to match the threads in the frame's BB shell. Also pay attention not to cross thread the bottom bracket when you first begin to tighten it.
Press Fit bottom bracket installation
Fitting press fit bottom brackets is less straightforward.
You'll need a specifically-designed press, which is not usually found in the home mechanic's tool kit. It's an expensive item and hacks designed to simulate the press are not recommended (even if you can find them on YouTube).
Essentially the tool presses the bearings into the frame. It's designed to do this squarely, though like any tool, if used incorrectly it can result in problems. In most cases it's a job for a professional mechanic, who'll have the tools and the experience.
Removing a press fit bottom bracket requires yet another tool. Depending on your bottom bracket this can involve hammering out the worn bearings. The tool is seated inside the shell against the bearings and then hit with a mallet. Again, given the cost of replacing an expensive carbon frame, it's a job best left to the pros.
WHAT IS THE BOTTOM BRACKET OF A ROAD BIKE?
A bottom bracket connects your cranks to your bike's frame, allowing you to pedal freely. It does this using two sets of bearings. Depending on your bike the bearings can sit externally or internally within the frame.
Your bike's bottom bracket shell is located at the bottom of the frame, where the seat tube, down tube and chain stays all meet. It will either be threaded and require a threaded bottom bracket or 'threadless', which requires a press fit bottom bracket.
WHEN SHOULD I REPLACE MY BOTTOM BRACKET ON MY ROAD BIKE?
Your bottom bracket features two sets of (usually) sealed bearings. Like any bearings on a bike these are subject to wear and tear. Water and dirt ingress will also cause the bearings to become gritty over time. Spinning the cranks (with the chain dropped) should tell you how smoothly your bearings are running. Equally if your crank has developed any 'play' its also a good indication that your bottom bracket needs replacing. To check this hold the crank arms and see if there is any side-to-side wobble.
HOW LONG DOES A ROAD BIKE BOTTOM BRACKET LAST?
The longevity of your bike's bottom bracket will depend on a few factors. Firstly there are varying qualities of BBs available. Cheaper models will often use low-grade grease and basic seals. More expensive models should offer better protection against the elements due to improved grease and seals. They should also feature higher-grade bearings.
Where you ride also impacts the life of your bottom bracket. If you're consistently riding in wet weather then it's likely to wear more quickly than a bike that's only ever used in dry conditions. Equally regular exposure to sand and dirt will also likely shorten a BB's life.
Keeping your bike clean after wet and dirty rides should help prolong the life of your bottom bracket. Threaded BBs can also be removed from time to time to regrease the threads and give the shell a good clean.
Bike crankset: definition, types and how to choose
How Does Crank Length Affect Road Cycling Performance?


