
How To Change Disc Rotors
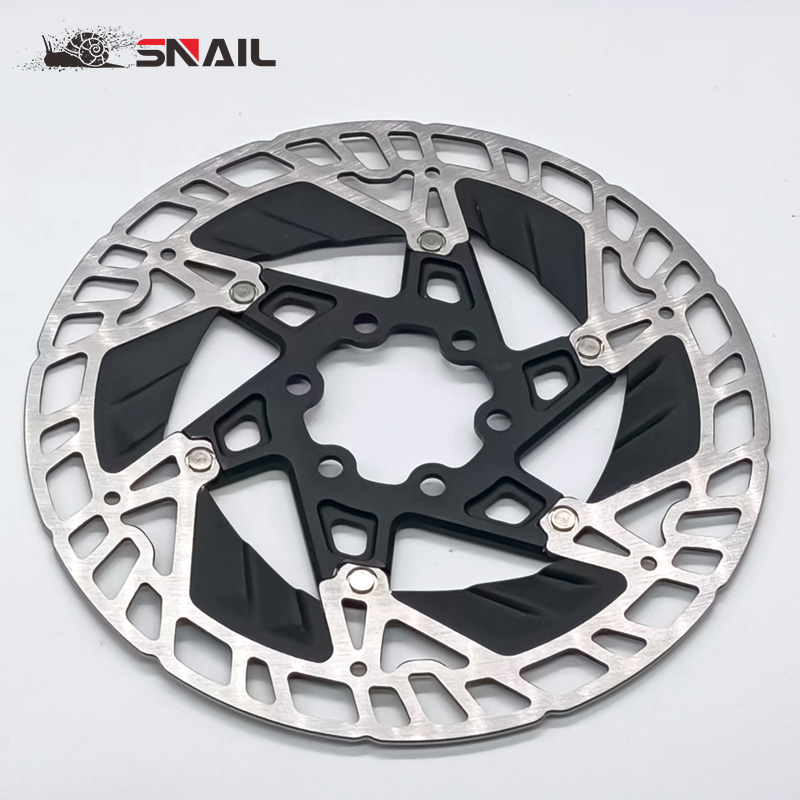
How To Change Disc Rotors
How To Change A 6-Bolt Disc Rotor
A 6-bolt disc rotor is the original and standard rotor you’ll see on most mountain bikes and some road and cyclocross bikes. The only tool you’ll need to change this kind of rotor is a T25 Torx Allen key.
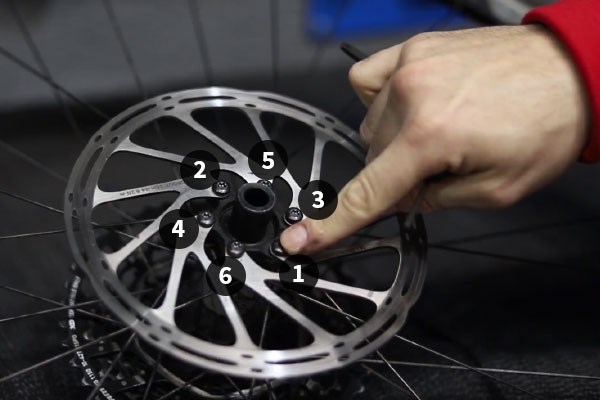
Start by loosening each bolt a little bit at first. Loosen the first, then loosen the next bolt that is across from the first, and continue to loosen them in this pattern, always crossing over the axle to loosen the next one. This makes sure that the pressure on the rotor is evenly slackened. Be careful to go slowly, as the bolts can be very tight. It is also easy to strip and round the bolt heads, so do not attempt to rush it.
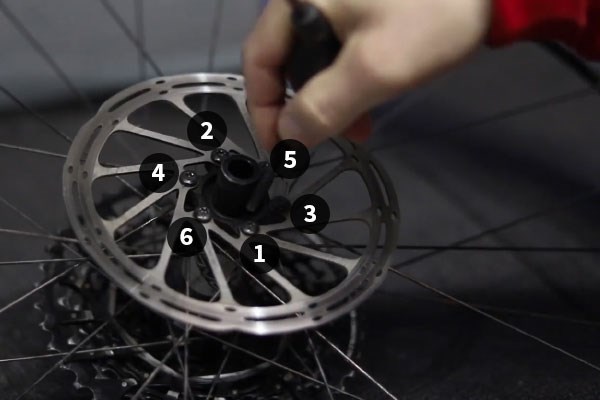
Once they are all loose, you can remove all the bolts completely. Once the last bolt is out, you can take off the rotor.
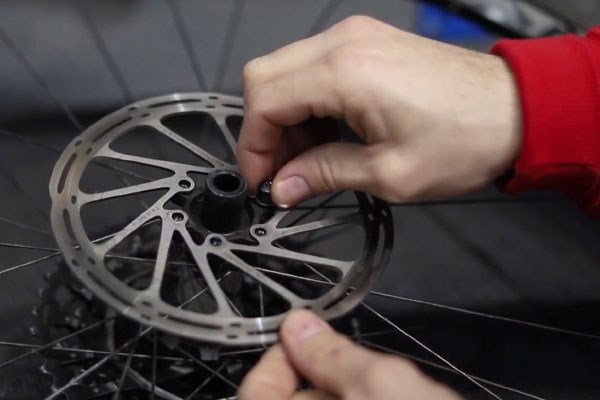
You can now put the new rotor on the hub. Make sure the writing on the rotor is face-up. Put each bolt in by hand, ensuring the threads go in easily, so as not to strip the bolt. Use the T25 Torx Allen key to tighten the bolts, but not all the way yet.
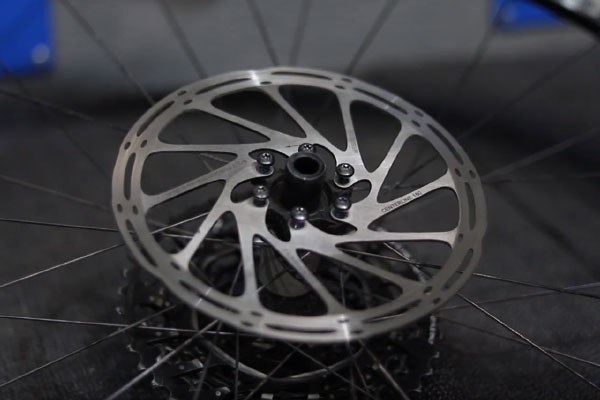
You can now tighten the bolts fully. You should do this in a specific pattern, as this will make sure the pressure on the rotor is evenly spread. Tighten one bolt fully, then tighten the bolt across from the first and move across to the next and so on until they are all fully tightened. Again, be careful and go slowly, as it is easy to strip and round the bolt heads. If you have a torque wrench, use this to get the correct torque setting. If not, tighten them firmly, without forcing them.
How To Change A Centre Lock Disc Rotor
A Centre Lock rotor is Shimano’s standard rotor, though you can find many manufacturers using this. It can be found on many mountain bikes, though it is most common on road and cyclocross bikes. You will need a standard cassette tool and adjustable spanner to remove and fit a Centre Lock rotor.
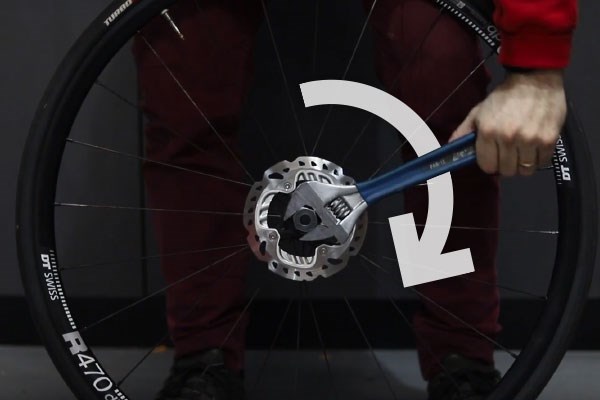
Fit the Cassette tool into the lock ring on the rotor. Fit the adjustable spanner onto the cassette too and loosen it. By hand, finish unscrewing the lock ring and remove it completely. You can now remove the rotor.
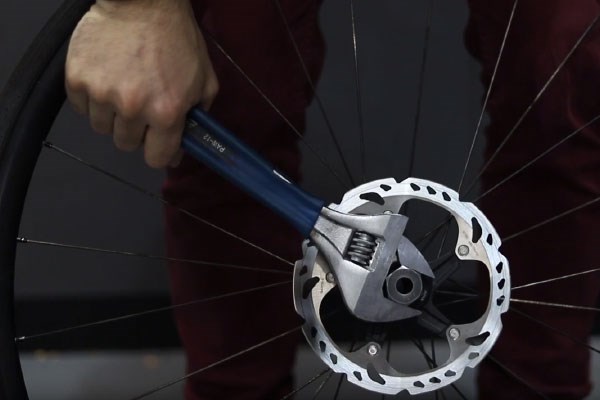
Place the new rotor onto the hub. It should only be able to fit on one way. Add a touch of grease onto the lock ring to make it easier to remove in the future. Replace the lock ring onto the rotor.
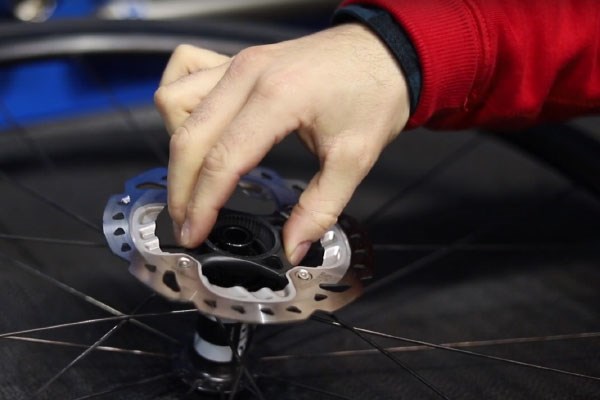
Screw the lock ring on by hand at first, using the cassette tool. This is to make sure the threads catch correctly and no not get stripped when tightening fully. Use the adjustable spanner to fully tighten the lock ring, securing the rotor in place. If you have a torque wrench, use this to achieve the correct torque setting. If not, tighten the lock ring substantially, without forcing the spanner.
How to Choose Your Right Crank Length for Your bike
INSTALLING THE DISC BRAKE ONTO AN ELECTRIC BIKE | HOW TO GUIDE


